
I’ve played on some pretty big monitors and TVs, but nothing rivals the ocular sensation of playing on an enormous projector screen.
- Manufacturer: Philips
- Model: GMX800 – Gamepix 800 Smart
- Projector Type: LED DLP Projector
- Throw Ratio: 1.49:1 – Standard Throw
- Supported Screen Size Range: 70”-150”
- Resolution: FHD 1920*1080 (16:9 1080p)
- Refresh rate: 120 Hz
- Price when reviewed: MSRP £1,099 – currently available for IRO £850 from some online retailers
- Supplied by: Philips
Philips Gamepix 800 Review
Overview
The Philips Gamepix 800 is a standard throw LED DLP projector with a feature set designed to satisfy gamers as well as big-screen entertainment aficionados. This is a Full HD (1920×1080) projector with an appreciably speedy 120Hz refresh rate and a claimed input lag of just 8ms, which is proven accurate by our testing. This translates into smooth gameplay, especially with the near-instant responsiveness of the DLP chip in the Gamepix 800. Of note, the projector will recognise and display images in 4k/60Hz as well as 1080p/120Hz. I first noticed this using the Google TV dongle, but I also set my PC to 4k60, which the projector accepted. This is a 4k image supersampled into FHD rather than native 4k – I checked with Philips, and this is included because to view HDR content from some sources, they require you to be viewing the 4K version of shows to enable HDR10 (Disney+ is a notable example).
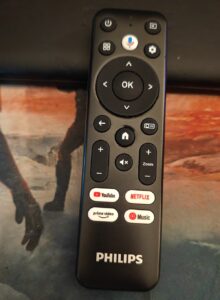
Although a big focus of this projector is on gaming, it’s actually a ridiculously good home entertainment device, too. The included Google TV dongle gives it standalone smart display functionality, which is extremely handy if you want to move it from room to room without lugging around a console, desktop PC or laptop. There are included apps for most of the major streaming services (YouTube, Netflix, Prime, Disney, etc), with the option to download additional VoD apps from Google’s expansive library. You also have the additional bonus of being able to screen-cast from a PC, smartphone or tablet. Miracast and other device-specific screen-casting solutions aren’t guaranteed to work, though; I had to use Google Home on my Honor mobile phone, for example, but it worked very well, albeit with around 300ms of delay – good for movies and sharing photos and videos I’d taken with the family, but definitely not responsive enough for gaming via this method.
The Google TV dongle is a decent media device, though it is quite slow to respond to inputs from the remote. Despite this, it’s more than adequate for browsing and selecting what you want to watch. The only real gripe I had was in the initial setup phase, as you’re supposed to be able to enter all of the passwords for the streaming services and perform the initial network selection from your phone. This wouldn’t work for me straight away, but as it’s a one-time setup, it was quicker to just do it manually with the remote rather than try to problem-solve why my phone wouldn’t do it. This was a minor 15-minute inconvenience at worst.
Design and Build
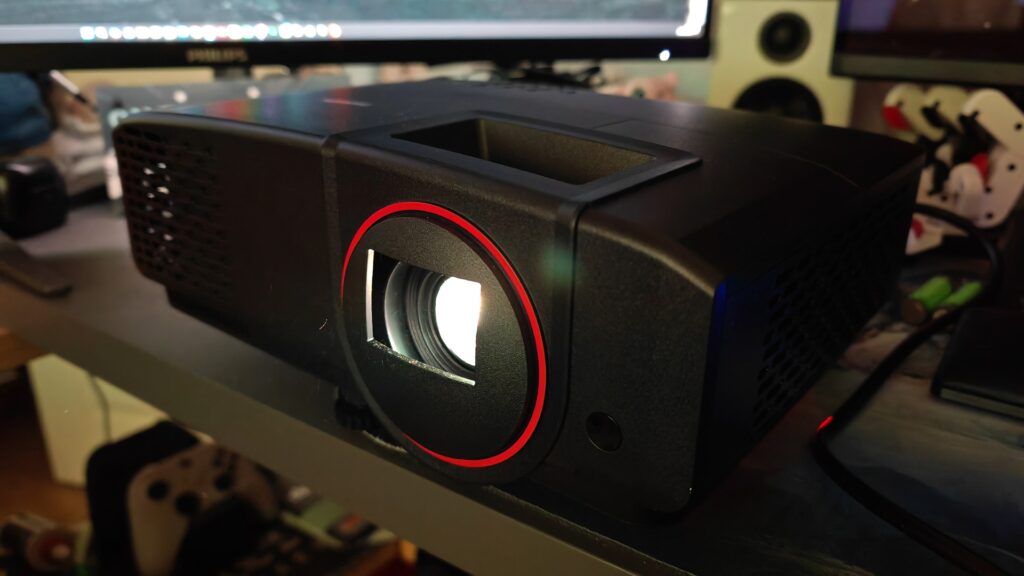
Unboxing the Gamepix 800 reveals a sleek, modern unit finished in matte black plastic that feels sturdy and well-assembled. It’s not overtly “gamer” in its aesthetic, but still there are no aggressive angles or RGB light strips, which I appreciate. It’s designed to blend into a living room or dedicated game room without drawing too much attention to itself.
The LED bulb boasts an enormous lifespan of up to 30,000 hours, which could translate to over 20 years of use at four hours a day (rookie numbers), all while being more energy-efficient than traditional lamp projectors.
The Gamepix 800 is surprisingly compact, considering the humongous picture it can produce, and its lightweight build (3.2 kg) lends itself well to working as a portable theatre, especially if you pick up a fast-assembly projector screen (mine can be assembled in just a couple of minutes). I don’t have a home theatre room, so being able to quickly set up the projector and screen is a huge advantage. If we’re having a family movie night, I can have the projector and screen in place and correctly keyed in under 10 minutes, and disassemble them even faster. I’ve used the Gamepix 800 in the lounge and bedroom, taken it to a friend’s house, and once the warm summer nights come around again, I’m definitely going to be having a garden movie night.
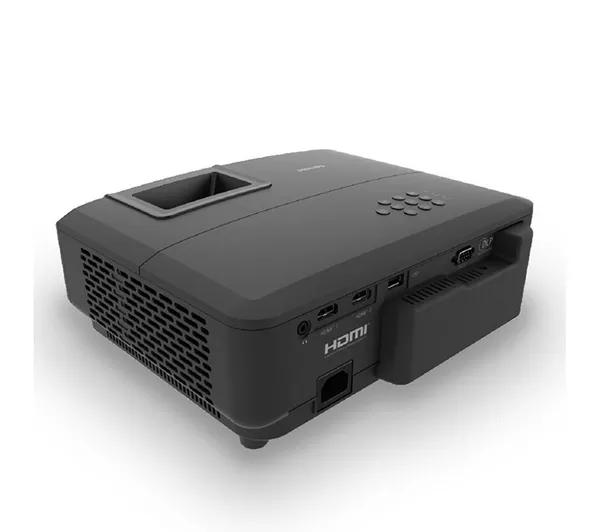
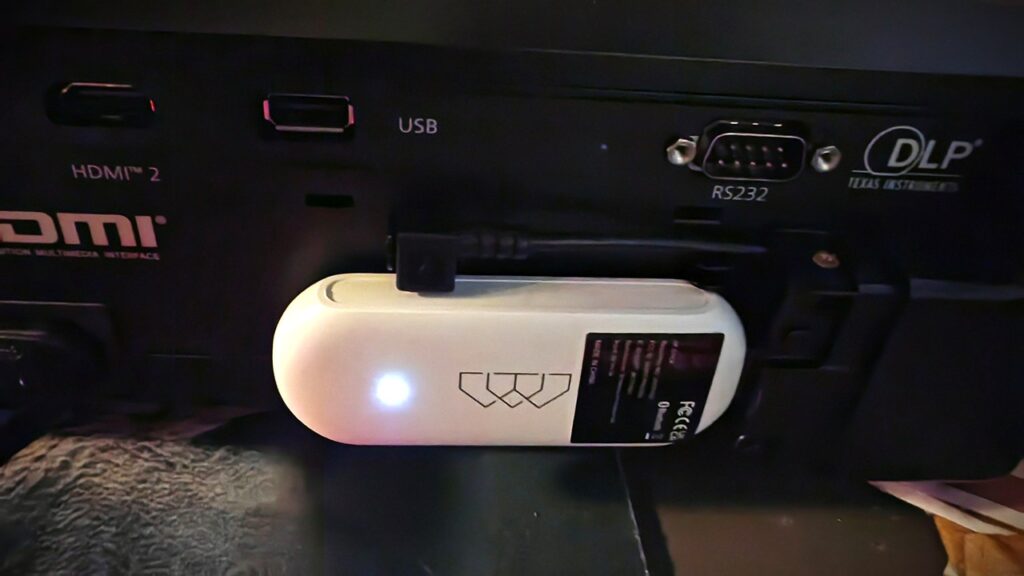
On top, you’ll find a clean layout of physical buttons for navigation and power, alongside manual dials for focus and zoom. Around the back, you get the bank of inputs and outputs, alongside a pop-off panel that reveals a hidden compartment containing the included Google TV dongle, neatly tucked away with its own dedicated internal HDMI and USB power ports. This is a nice touch, keeping the smart functionality integrated without sacrificing external ports whilst also allowing for upgrades or replacement in the case of dongle failure, something you couldn’t do if it were an internal device.
One minor gripe is the front adjustment foot, which is a single centrally-located screw-in type. This means you are limited to adjusting the vertical angle with no horizontal correction if your surface is not completely level. I would have preferred it if the two rear feet were also adjustable, too, as I had to get creative with some folded card to achieve the perfect projection angle.
Connectivity and Supported Resolutions
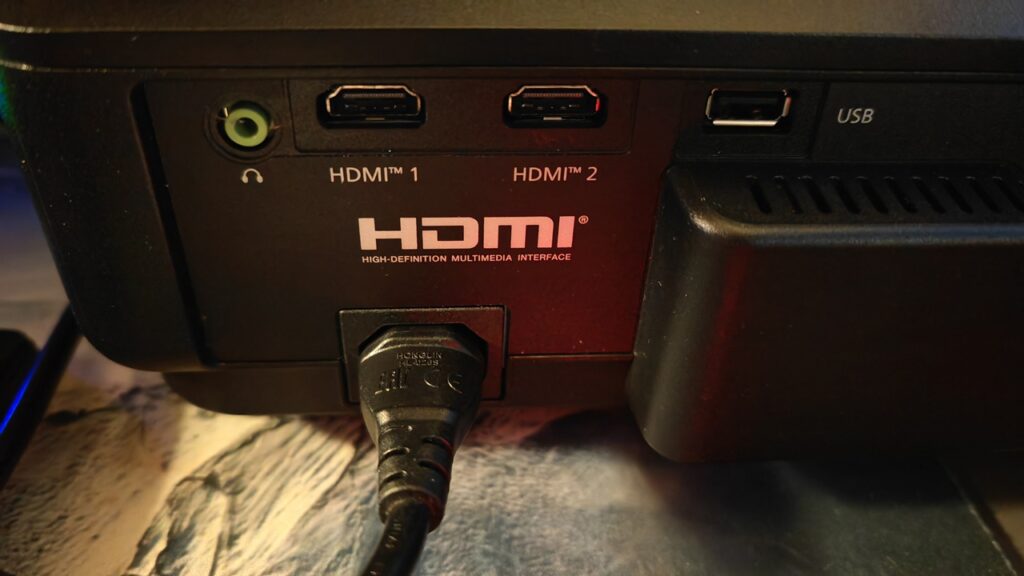
Display connections are handled by a pair of HDMI 2.0 ports (the Google TV dongle uses a concealed third HDMI port, with its own integrated USB power supply). If you’re permanently mounting the Gamepix 800 to your ceiling, this gives you a bit of extra flexibility with your inputs before relying on HDMI splitters.
As these are HDMI 2.0 ports, you are limited to 1080p/120Hz (or 2160p/60Hz); this mirrors the projector’s capabilities, so it won’t hinder performance. I tested the Gamepix 800 with an Xbox One X, Series X, high-end gaming PCs, and an RTX 3080 laptop, which were all correctly detected and displayed*, so there are no issues with connectivity.
For 1080p, a standard passive HDMI cable should work for up to 10 metres – for distances up to 15-20 metres, you’ll need either a high-speed Cat2 cable or one with a signal amplifier – for maximum reach, you can use HDMI over Ethernet to greatly improve the range, up to around 50 metres at 1080p.
(*note: When connecting to an RTX 4080 PC, with two 4k monitors connected, I had to disable one of the monitors to get the picture to also display on the projector. The frame rate was also juddery, but this was remedied by setting the Gamepix 800 as the primary screen. This is unusual, as I’ve had three 4k monitors connected before with no issues. However, when connected to a newer system with an RTX 5080, there were no issues connecting the projector along with two 4k monitors, and the jerky framerate issues were gone – this rules out an issue with the Gamepix 800, but it’s worth noting in case you have issues connecting to your PC with multiple displays, as I spent over an hour trying to troubleshoot the connection issues.)
A USB-A port is also included for powering alternative dongles like the Chromecast and Firestick – USB power needs to be enabled from the settings menu. (Although the manual mentions playback from external devices, Philips confirms this was an oversight and this feature was not included.)
The Gamepix 800 also has an RS232 port. I don’t have much experience with RS232 outside of knowing the basics of what it’s used for, but if you have high-end AV equipment and know you need it, you’re catered for (you can also adjust the Baud Rate in the settings if you’re using extensive cable runs).
Required Space and Throw Ratio
Before you can buy your projector screen and set up your projector so you can sit down for some mega-screen gaming and movie watching, there are some important measurements to make. The Gamepix 800 is a standard-throw projector with a throw ratio of 1.49:1. In simple terms, this means the distance you need to place the projector from the screen is 1.49 times the horizontal width of the image you want to create. This projector has a projection distance of 2425 mm to 5197 mm, and thus can create a screen size of 70″ to 150″.
To calculate the placement distance, the formula is:
Throw Distance = Throw Ratio x Screen Width
For my home, I have an approximate maximum distance of 2.8 metres from my desk to the wall, 2.6 metres from the corner of the bedroom to the far corner, and 2.6 metres again from behind the sofa to the wall in the lounge (all the places where I could make the projector work). My rough calculations meant an 80” screen would be optimal for my environment. Knowing that an 80-inch screen has a horizontal width of approximately 177.04 cm or 69.7 inches, I applied the formula:
Throw Distance = 1.49 x 177.04 cm / 69.7 inches = 263.78 cm / 103.85 inches
This translates to about 2.64 meters of space needed from the lens to the screen, which is perfect for an 80” screen. It is absolutely crucial to measure your room before buying a projector screen to ensure you have the required space to achieve your desired screen size, rather than buying a huge 150” screen and having an image in a small rectangle in the centre!
Projector Setup
Once you’ve worked out the size of the screen you need, there are a couple of things to note about setting up this projector. Firstly, there is no four-corner adjustment as found on very high-end projectors, nor automatic keystone adjustment; everything must be positioned manually. I placed the Gamepix 800 on my desk, which wasn’t perfectly level due to one of the projectors’ rear feet resting on my desk pad. A folded-up piece of card solved this problem, but it only took a few minutes to dial in perfectly.
The ideal location for the projector is lined up centrally facing the screen, and almost in line with the bottom of the screen, or top, if using it inverted from a ceiling mount (The Gamepix 800 has options for flipping the image vertically for ceiling mounts, as well as horizontally in the case of rear projection screens). My screen can be raised or lowered, which made lining it up a breeze, but you may need to get creative to line it up correctly in temporary setups – in our bedroom, I had to stand it on its box on the nightstand.
For TV or movie watching, you can use the built-in manual digital keystone adjustment to skew the image vertically to fit your screen correctly if you’ve had to place the projector significantly higher or lower than the top or bottom of the screen, respectively. This will slightly impact the image quality depending on the amount of keystone correction you have to make, but it’s generally acceptable for video. However, this is not recommended for gaming, as it adds latency, which you will perceive as input lag. The Gamepix 800 performs very well, with native latency under 8ms, so it’s important not to increase this when gaming.
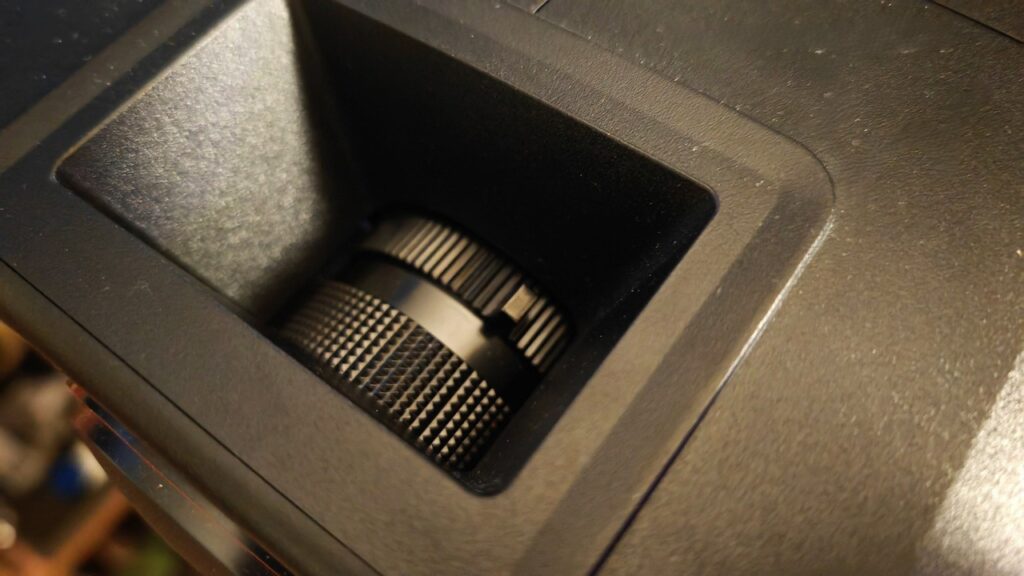
Once you’ve got the projector and screen where you want, it’s time to set the zoom and focus; there are two rings located on the unit – one with a lever for setting the zoom level (to adjust for your screen size), and the other is a fine-tuning focus ring. It’s very intuitive to use, and quite easy to get properly focused and aligned using the built-in test pattern accessible from the menu.
As a more elegant solution to my cardboard boxes and folded-up card method, you can purchase a projector stand. The Gamepix 800 supports tripod and ceiling mounts, with three M4 screw sockets located on the bottom. Unfortunately, the unusual pattern of the Gamepix 800’s screw holes rules out using most tripod stands, as not only do they usually have just a single screw, most “universal” mounts utilise a ¼” screw thread, rather than the M4 required for this projector. You can get tripods with trays, but expect to pay a premium for a sturdy one. For ceiling or wall mounts, you are better catered for, as many of these brackets and mounts have universal mounting plates that can easily be adjusted to fit the Gamepix 800’s screw patterns and are compatible with a variety of screw sizes, including M4.
Display Quality
Once positioned correctly, the display quality is genuinely impressive. The image is powered by a Texas Instruments 0.65″ DLP chip, which delivers a sharp and detailed picture. At its native 1080p, games looked crisp and clean on my 80-inch screen, without the distracting pixel grid or “screen door effect” that can plague lower-quality projectors. For a truly cinematic experience, the projector can cast an image up to a massive 150 inches.
Image Response
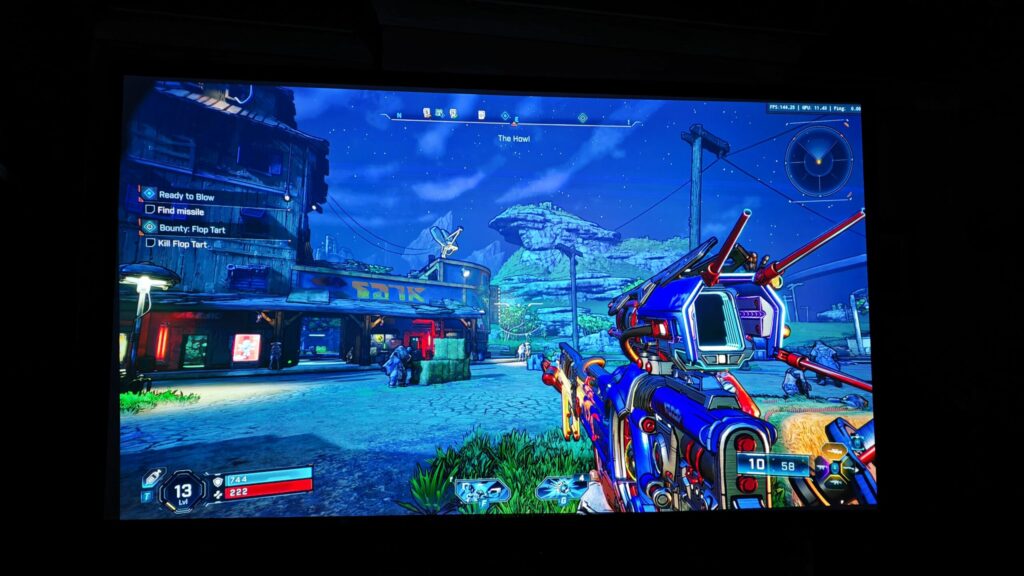
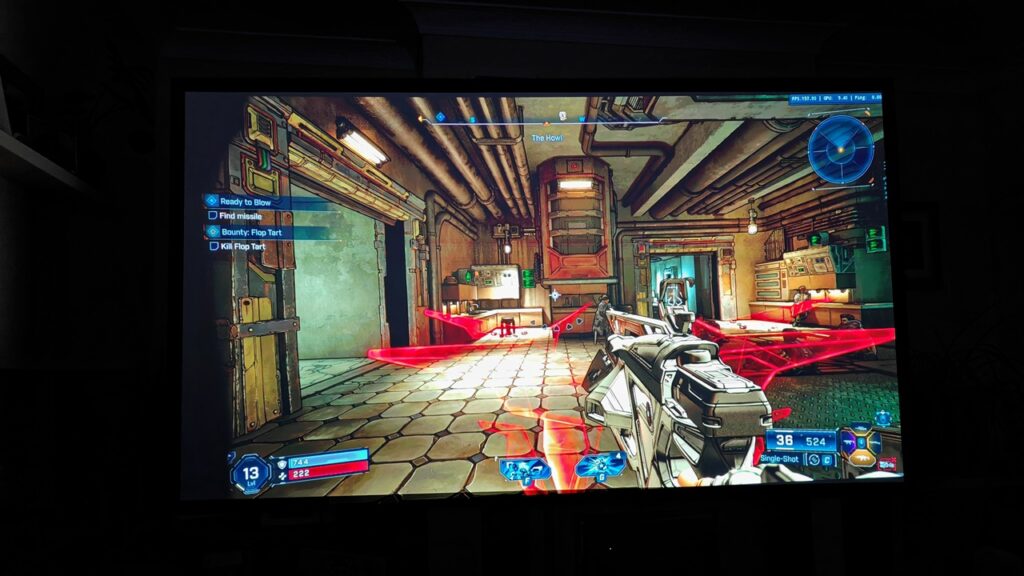
Here’s where the Gamepix 800 truly stands out compared to non-gaming projectors. The combination of the Texas Instruments DLP chip’s inherently fast pixel response and Philips’ engineering results in phenomenal motion clarity. When running at 120Hz, playing fast-paced games like Borderlands 4 and CS2 my inputs felt immediate, which is essential for competitive gameplay. Philips’ claimed 8ms response at 120Hz is excellent for a projector, making the Gamepix 800 a genuinely viable option not just for casual or cinematic games, but for more serious competitive play where every millisecond counts.
Brightness, Contrast and Colour
A concern I had when looking at projectors in the past was colour vibrancy, contrast and to some degree, brightness. Having been spoiled by the best OLED and FALD monitors, I was doubtful whether the Gamepix 800 could produce an image that would satisfy my needs, especially as I favour exceptionally vivid colour and contrast. Out of the box, the colour is very nuanced, producing natural shades that are comparable to a monitor calibrated to sRGB. As much as this looks more natural, I do prefer it when my colours pop. A quick trip into the settings and a simple increase in colour saturation gave me much richer colours, but I was very pleased that there was still a smooth gradient with no oversaturation or compression of the deepest shades, unlike what I have experienced on some monitors. Indeed, using my contrast analysis colour chart, the full-RGB results were impeccable, and the darkest colours still had clear separation right down to the bottom of the scale. This is a very impressive result.
Philips’ factory calibration, as we’ve come to expect, is superb in its default guise. The colour accuracy and base settings of the Gamepix 800 are excellent, so if you aren’t a tinkerer, you can use this projector with no adjustments needed. However, if you have colour calibration equipment, there is full granular control of the colour space, including individual hue and saturation adjustments if you want to fine-tune your display.
As for brightness, the Gamepix 800 boasts a powerful 2500 ANSI lumens LED light source, which bathes the projector screen in bright light. It’s bright enough that you can still see the image clearly with significant ambient light sources, though if you only have a cheap projector screen rather than an ALR (Ambient Light Reflecting) screen, the contrast will suffer, especially with sunlight streaming through a window. With the curtains drawn, I found it to be a wonderful image on my modest screen, with dark blacks and dazzling highlights, but if this were my only/primary viewing device, I’d definitely invest in a higher-end ALR projector screen for daytime viewing. With the right screen, the high brightness of the Gamepix 800 means this would make a great replacement for a standard TV setup.

Within the options, there are light source settings that allow you to switch between standard (up to 2500 Lumens), Eco (reduced brightness but with less cooling fan noise) and Dynamic (raises and lowers brightness level to match your content). In a pitch-dark room, the Eco setting is my favourite, as I get superior contrast on my non-ALR screen without sacrificing vibrancy. I didn’t find much advantage in using the Dynamic setting, as it either made bright scenes too bright in a dark room or dark scenes too faint in a moderately lit room. Again, with an ALR projector screen, I would expect this to come into play much more, especially with a lot of ambient light.
Note: 2500 Lumens is equivalent to 730 cd/m² (Nits). It’s generally specified that this is suitable for moderate levels of ambient light – you should avoid bright overhead lights, or you may need to close curtains for the optimal picture brightness. In my testing on a grey British winter’s day, drawing my curtains (non-blackout) provided a suitably rich viewing experience.
Gamut Coverage and HDR
Philips quotes 98% coverage of the Rec. 709 colour gamut, which is equivalent to a similar figure in sRGB coverage; Visually, this translates to rich, vibrant, and accurate colours right out of the box. An onboard Colour Management System helps ensure that the visuals are rendered as the developers intended. The projector also features three dedicated gaming presets to optimise the display for Action, Adventure, or Sports games. As with most monitors, I’m a purist and prefer to stick with a well-calibrated 6500K, 2.2 Gamma setup (2.4 Gamma in this case, as it uses Rec. 709) rather than use artificial enhancements, but your mileage may vary.
The Gamepix 800 also supports HDR10 and HLG, which allows it to process an HDR (High Dynamic Range) signal. This enhances detail in both the brightest highlights and the darkest shadows of an image. While the projector’s native 1500:1 contrast limits the full impact compared to what you’d see on a high-end TV, the HDR implementation does add a noticeable layer of depth and realism to supported games and movies, and enhances colour, making for a more dynamic and immersive picture. With the projector set to HDR, it will convert SDR images to HDR, albeit without the bump in brightness and colour you’d get from a native HDR signal. This is useful, as you don’t need to switch to and from HDR in the settings depending on what you’re watching. There is an auto-switch for SDR/HDR, but I found the image to be almost identical when viewing SDR content natively or in HDR mode, so I leave it switched to always on.
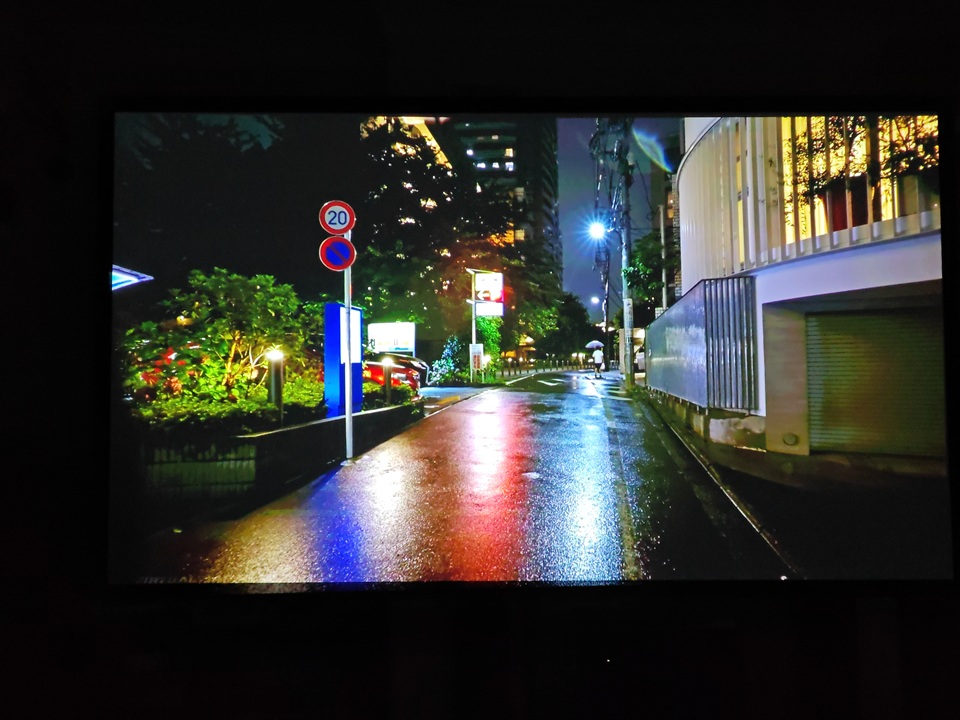
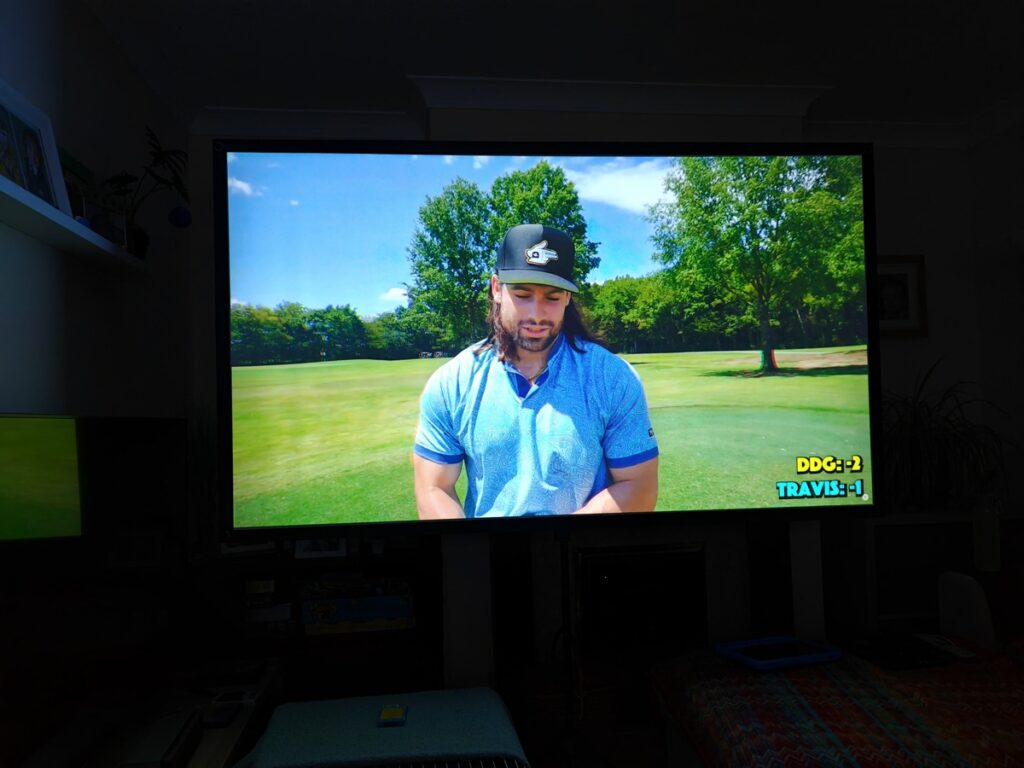
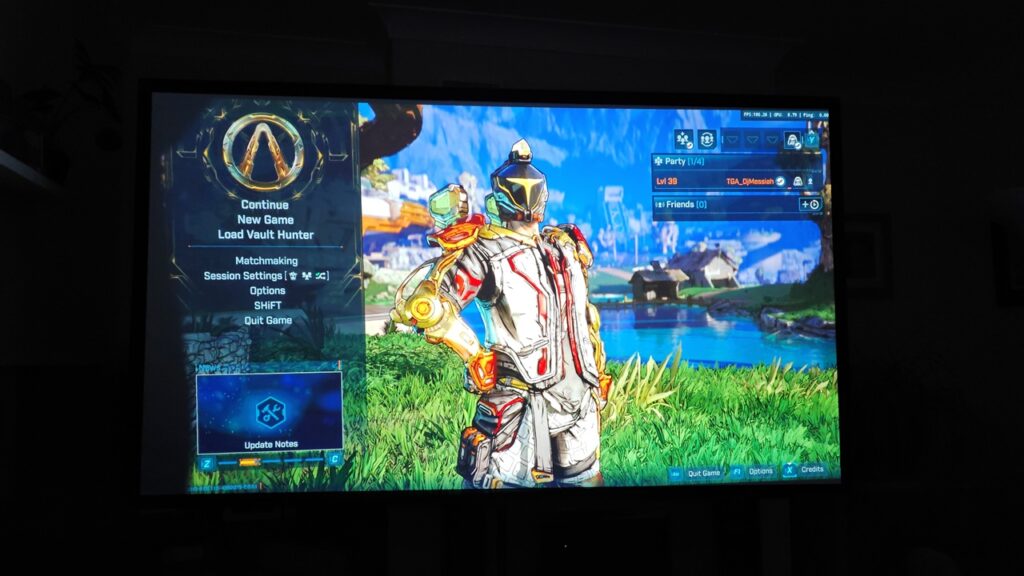
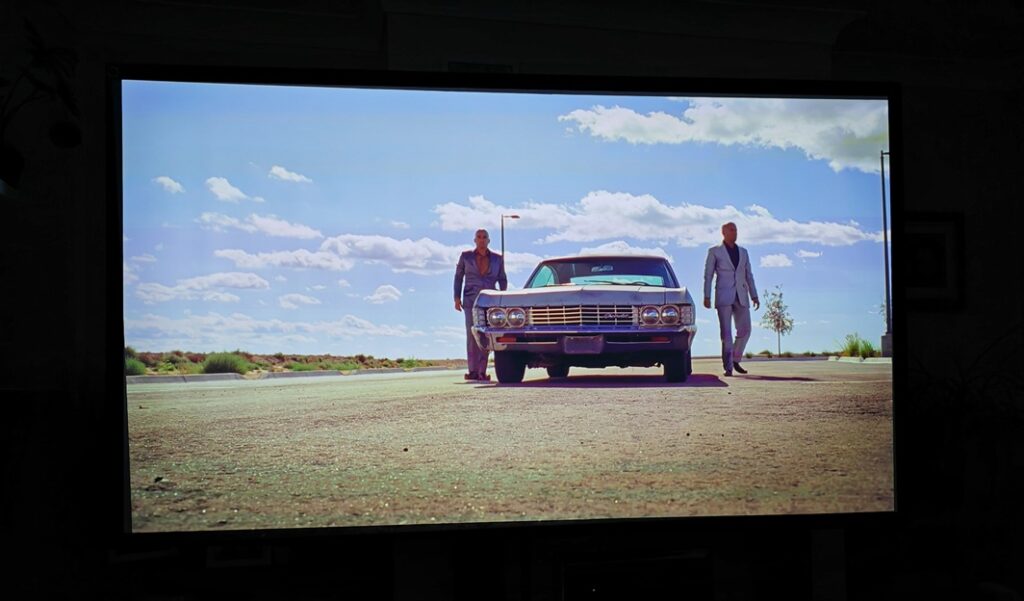
In my testing, the projector correctly displays an HDR image when using Windows HDR mode, and Nvidia RTX HDR creates a great version of faux HDR. A slight nuance of the projector is that some apps ( It’s tricky to get a truly representative photo of a monitor or projector screen, but I’ve tried to capture these images as similarly as possible to what my eyes perceived – see the following photos for some examples of how well the Gamepix 800 performs.
Viewing Angles and Uniformity
One of the inherent advantages of projection is the viewing experience. Since you are viewing a reflected image off a neutral screen, the viewing angles are essentially perfect. There is no colour or contrast shift as you move off-centre, making it ideal for multiplayer couch co-op sessions where everyone gets a great view. The brightness uniformity across the entire screen was also excellent in my testing, with no noticeable hot spots or dim corners.
Sound Quality
There are countless permutations of audio gear and connection types that you may want to use, far more than I can efficiently test, but I’ve tried to cover as many as possible.
For a standalone option, the projector includes a built-in 5W speaker with a dedicated sound chamber, and I was pleasantly surprised by its performance. It gets loud enough to fill a small to medium-sized room, and the audio lacks bass, but is clear without sounding overly tinny or distorted at higher volumes. You do unfortunately end up with the sound coming from alongside or beside you, depending on where you’ve placed the projector, and it’s only mono, which isn’t ideal for immersion. Think of it as a handy fallback if you have no other options, but certainly don’t plan on it being your only audio source.
HDMI ARC is supported, which is great if you want to connect a home theatre surround sound system or soundbar. You’ll have to enable HDMI ARC in the settings (labelled Audio Return), then you can enjoy higher quality sound to go with your amazing picture. If your setup doesn’t support ARC, there is also a 3.5mm jack – I have an older Sony surround system that supports Dolby Pro Logic II, which correctly decoded a 5.1 signal from the Gamepix 800.
When connecting to my PC, I found it easier to use my headphones as normal or connect directly to my surround setup rather than route extra cables and use ARC, but I did successfully connect the Series X to the projector and had excellent quality sound via the HDMI audio return channel. I also connected my AudioEngine A5+ Bookshelf speakers to the 3.5mm audio jack, which produced great sound, even if it was only stereo, and you can likewise connect headphones this way, too.
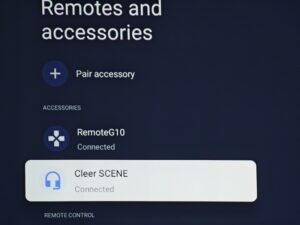
When using the Google TV dongle, you can use the internal 5W speaker, as well as the 3.5mm output; however, the dongle also supports Bluetooth, so you can connect to wireless headphones or audio receivers, which is a very handy addition. I connected a Bluetooth speaker, which made for a great impromptu soundbar when I had the Gamepix 800 in the bedroom.
Summary
The Philips Gamepix 800 successfully delivers on its promise of a genuine, big-screen gaming experience on a projector without the traditional compromises of input lag and motion blur. It prioritises a fluid 1080p/120Hz experience over 4K resolution, a trade-off I believe is the right one for a projector in this class aimed at gamers. The high brightness makes it versatile for different room conditions, and the integrated Google TV makes it a fantastic all-in-one media hub.
It offers an intoxicating level of immersion that a traditional monitor or TV simply cannot match, with the flexibility to move it around, take it on holiday, or swap out a bigger (or smaller) screen as your needs change. If you have the space to accommodate it and crave a truly cinematic scale for your gaming, the Philips Gamepix 800 is a spectacular choice that will transform your game time and make watching movies a major event.